
Precision Lighting. Reliable Imaging.
LuxMV designs and manufactures machine vision lighting, strobe controllers, and industrial optics for automated inspection. Build clear, repeatable image contrast around your field of view, working distance, speed, and target features.
Engineered Components
Explore lighting, control, imaging, and optical components designed for reliable integration into industrial inspection systems.
Machine Vision Lighting
LED ring, bar, coaxial, line-scan, and backlight options for controlled, repeatable image contrast.
View CatalogCustom Lighting
Application-specific wavelengths, optical structures, housings, and form factors for non-standard inspection tasks.
View CatalogFiber-Optic Lighting
Fiber-optic illuminators and light guides for localized, microscopic, and space-constrained inspection.
View CatalogLighting Controllers
Lighting controllers for intensity adjustment, external triggering, strobe operation, and multi-channel coordination.
View CatalogIndustrial Lenses
Telecentric, fixed-focal-length, and macro lens options for dimensional imaging and fine-detail inspection.
View CatalogIndustrial Cameras
Area-scan and line-scan camera options for industrial image acquisition and inspection.
View CatalogOptical Accessories
Diffusers, polarizers, mounting hardware, and related optical accessories for system integration.
View CatalogEngineering Support for Better Images
From model selection to application-specific lighting, we help translate inspection requirements into a practical imaging setup.
Application-Specific Engineering
Adapt lighting geometry, wavelength, optical structure, and housing constraints to the feature or defect your system must reveal.
Pre-Selection Evaluation
Share target images, sample information, field of view, and working distance so candidate lighting and optics can be evaluated before integration.
Defined Validation Workflow
Compare illumination direction, wavelength, reflection control, and image contrast against the actual inspection objective.
Integration-Oriented Support
Align product selection and customization requirements with mounting, triggering, electrical, and project schedule constraints.
Featured Technical Guides
Use practical explainers on lighting, lenses, cameras, and image formation to make better machine vision design decisions.
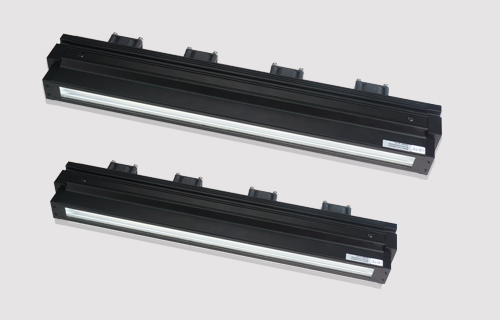
How do machine vision designers choose the right lens?
For machine vision system designers, the cost-performance trade-off when selecting a lens for a specific application becomes more complicated because there are many different types of lenses with different resolutions…
Read Article
Characteristics of infrared images and detection difficulties
Infrared images, as an important imaging method in the field of target detection, have their own unique characteristics and detection difficulties. Infrared images are mainly based on the infrared radiation emitted by…
Read Article
How autofocus works: How cameras and lenses achieve precise focus
How autofocus works: How cameras and lenses achieve precise focus Whether capturing a fleeting expression, fast-moving wildlife, or cinematic video footage, autofocus systems are designed to keep subjects sharp,…
Read ArticleHave a challenging optical inspection task?
Share your target feature, field of view, working distance, line speed, and current image. A LuxMV application engineer can help narrow the lighting and optical approach.
Consult an Engineer